Role fit comes before
Role fit comes before element perfection.
System guide
Elements help explain matchups, but players often overvalue element labels and ignore team roles.
Use elements as a matchup check, not as the whole strategy. A correct element still fails if the team lacks damage, control, survival, or enough upgrades.
This page follows the wiki guide format: answer the player problem first, show the relevant visual reference, explain the common mistake, then turn the advice into a repeatable decision table. Use it with the linked pages instead of treating one guide as a standalone rule.
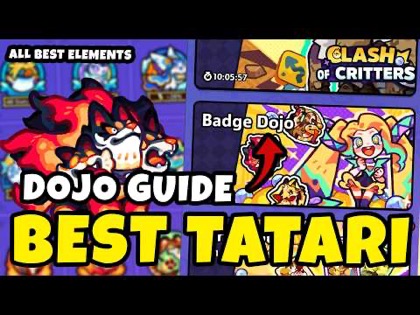
Visual reference
The guide cover gives this page the same visual signal players expect from the competitor guide library, while the sections below provide the actual decision logic.
Start with the situation you can observe in game, then match it to the table below. This keeps the guide practical because a Clash of Critters problem is usually not solved by copying one sentence from a page. You need to know whether the blocker is damage, survival, control, event timing, collection pressure, or resource timing. Once the blocker is named, the right next page becomes obvious.
Use the visual reference as an orientation point, then use the decision framework as the actual action layer. If the page is about an event, decide the reward target before spending. If it is about progression, decide which unit or role changes the next fight. If it is about a system such as elements, roles, Dojo, or Card Album, do not isolate that system from the rest of the account. The professional workflow is: identify the problem, choose the next action, retry once, and only then spend more.
The biggest elements mistake is swapping to the right color while losing the role that made the team work. Element advantage does not replace team structure.
The fix is to name the exact blocker before spending. If the blocker is damage, invest in damage. If the blocker is early collapse, stabilize the team. If the blocker is reward timing, compare the event value before committing more resources.
The safest priority order is to protect permanent progress first, then chase temporary rewards only when they are close enough to matter. In practice, this means your main team, core roles, and current stage wall should stay ahead of collection pressure. Events and side systems become excellent when they give a near-term reward that improves the same team you already use.
After reading this page, do not make five changes at once. Pick the row that describes your current situation, follow the action, and test the result. If the result improves, continue in that direction. If the result does not improve, return to the related page and diagnose the next likely blocker. This is the repeatable pattern behind the guide system: every page should help the player make one cleaner decision, not create ten new tabs with no priority. Keep a short note of what changed so future retries become easier to interpret and compare with later updates too.
Priorities
Role fit comes before element perfection.
Elements matter most when a specific enemy or Dojo path exposes a mismatch.
Your best upgraded unit may beat a weaker perfect-element option.
Element pages should connect to Zobos and Badge Dojo.
Decision framework
Use this table when the page creates a real choice instead of a simple lookup.
| Situation | What it means | Best action | Next page |
|---|---|---|---|
| Element looks correct but you lose | Role gap remains | Check carry, control, and survival | Open guide |
| One enemy type breaks the fight | Specific matchup issue | Check Zobos before swapping team | Open guide |
| Dojo challenge fails | Element and readiness conflict | Use Badge Dojo planning | Open guide |
| Bench unit has better element | Upgrade gap risk | Do not swap unless it changes the fight | Open guide |
Checklist
Identify the enemy or challenge first.
Check whether the team still has all core roles.
Only swap elements when the replacement is upgraded enough.
Use Zobos and Dojo pages for specific matchup pressure.
FAQ
Yes, but elements work best when paired with correct roles and upgrades.
No. A stronger well-built unit can outperform a weak perfect-element unit.
Elements matter most in specific enemy patterns, Badge Dojo paths, and some event routes.
Read Roles Guide, Zobos, and Badge Dojo with this page.